

Whether you have a large or small garden, it's a question that many people feel embarrassed to ask. I still remember wondering “what do I do with all the grass?” None of the general gardening books I owned then seemed to have the answer, and Google hadn’t been invented. So I did nothing. I carried on growing and cutting the lawn and didn’t sow any vegetables, making excuses that I was too busy.
If that sounds familiar, here a few steps to help you create a vegetable bed or garden on a budget – it will take time but all it will cost you are a few basic tools and a bit of hard graft. It could also be a great excuse for inviting a few friends around to give you a hand and making a day of it, perhaps helping them out in exchange and sharing some food and drink.
Once the soil’s prepared, ideally leave it for three or four weeks to settle before planting or sowing.

Only clear as much as you can manage.
2. Choose your site.
Avoid making a vegetable patch in a shady or wet area. Most
vegetables like to grow in sunny, well drained sites, but with access to water for those hot sunny days.
vegetables like to grow in sunny, well drained sites, but with access to water for those hot sunny days.
If it’s overgrown  with briars and rough grass, only hard work is going to clear it. Whether you use shears, a strimmer or a scythe, hack it all down as close to the ground as possible, digging out seedling trees or shrubs where necessary. Anything that’s compostable can be saved for the heap or if it’s too much, most County Councils now have green waste areas that it can be taken to.
 |
| This area was covered for a year with cardboard and didn't take much effort to clear. |
Cover any areas that you won’t have time to dig over with black plastic, cardboard or old carpet until you’re ready. This will prevent any weeds growing in the meantime.
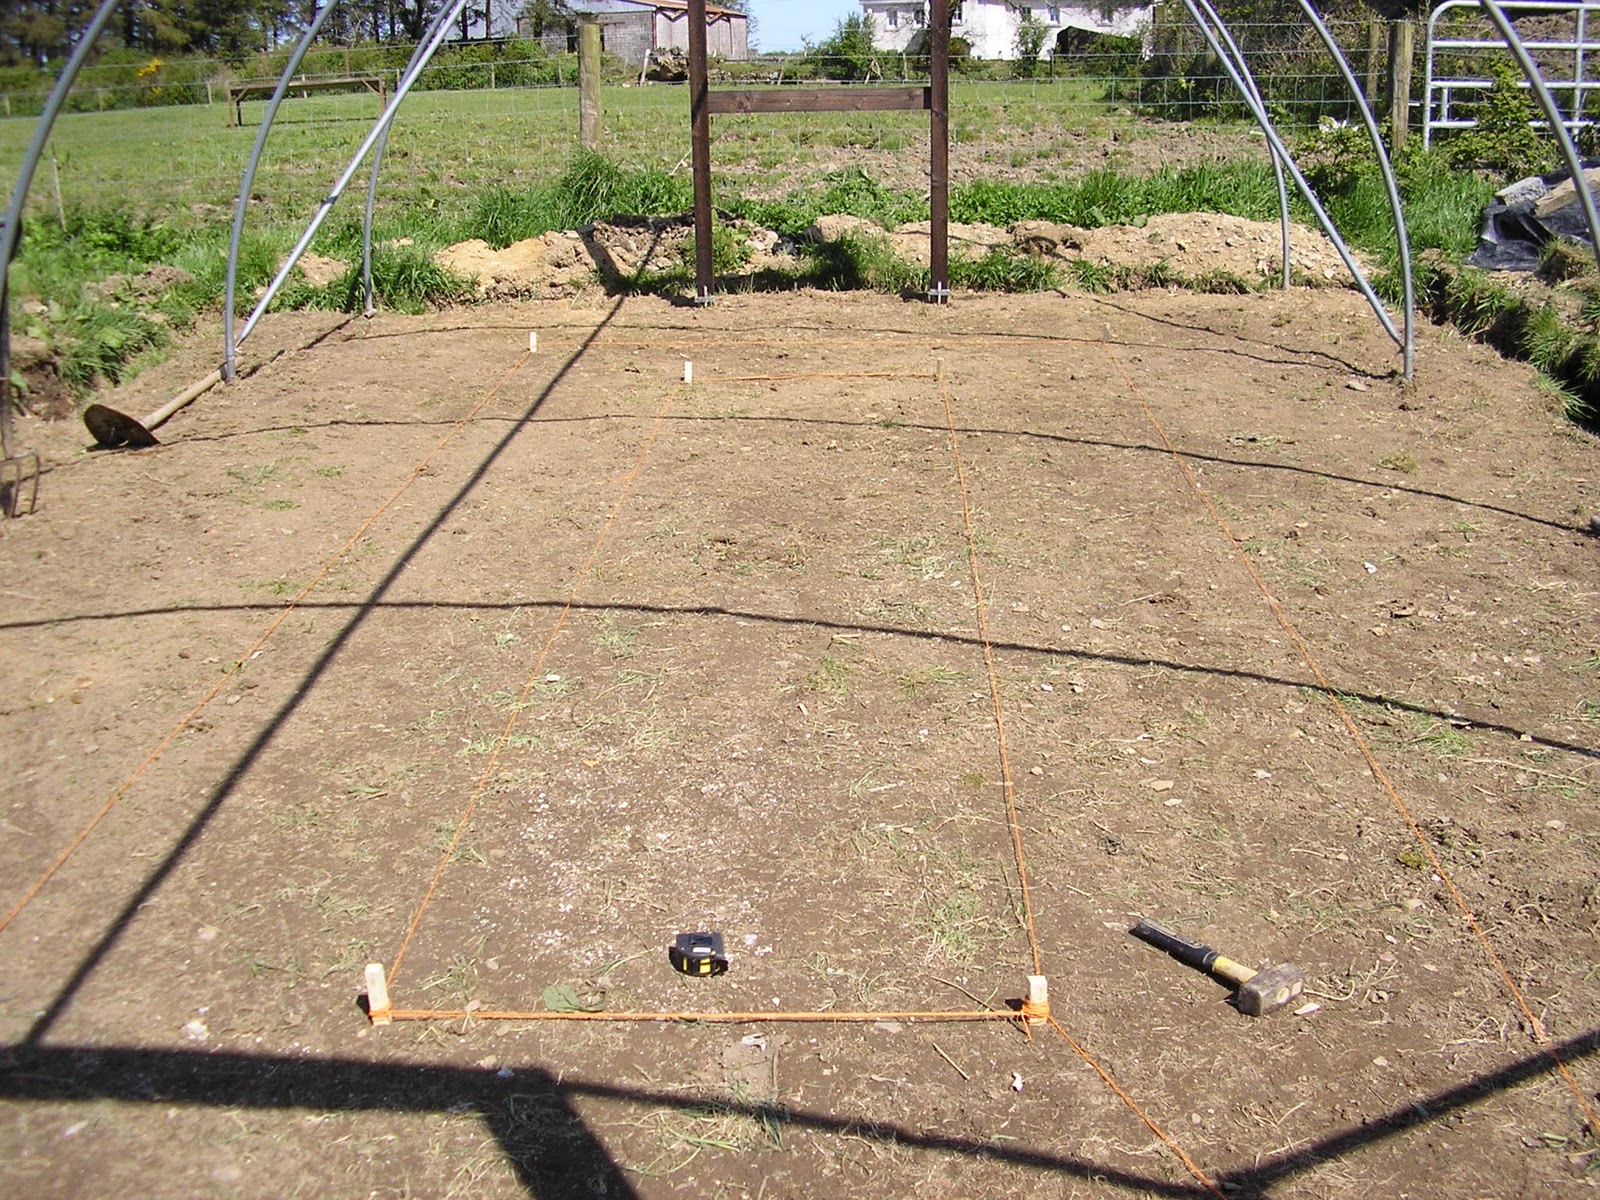
4. Mark out the area.
Mark your bed sizes out using string, bamboo poles, an old hosepipe or flour. We find that bamboo poles work well to start with as they can be moved and re-positioned until they’re in the right place. Practice walking around the marked out area with a wheelbarrow to make sure you have room to manoeuvre.
5. Remove as many weeds as possible.
Again, if you garden without chemicals then you’ll have to do this by hand. If not there are organic weed killers available that are an alternative to the well-known herbicides.
6. Using a spade, remove the ‘turf’ or the top layer of grass.
If you have space this turf can be placed upside down in a pile out of the way and covered with plastic. Eventually it will turn into soil that can be used again.
 |
| Freshly turned soil |
7. Turn over the soil.
Preferably use a spade or fork. As tempting as a rotavator is, any weed roots that are still alive will get chopped up by the blades and reappear as new weeds in your lovely prepared beds. If you use a fork you can pull out weed roots as you find them. Double dig if you have the back for it but avoid digging at all if the soil is frozen or too wet as it can damage the soil structure. Avoid standing on it too or the soil can compact.
8. Pick out the larger stones.
 |
| Just pick out the larger stones. |
You’ll never remove all the stones so don’t try! Don't worry too much about the smaller ones, they’ll keep rising to the surface and you’ll be at it for years. Just pick out the larger stones as you find them.
9. Take a soil pH test.
These are readily and cheaply available at all garden centres or online. Choose one with instructions and follow them. Soils can vary between acid and alkaline. If you have very acid soil you may need to add some lime to raise the ph. Most vegetables will grow happily in soil with a neutral ph. If you need to add lime, look for calcified seaweed in the garden centre and follow the instructions on the packet on how much to add.
 |
| Well rotted compost |
10. Add some well-rotted organic waste.
It’s quite likely that your soil will need improving. As you turn over the soil add some kind of well-rotted organic waste – be it animal manure, compost or leaf mould. You could also throw in some general fertilizer such as fish, blood and bonemeal that will give the beneficial soil bacteria a helping hand (about two handfuls per square metre).
Lastly, it’s not necessary to edge the beds but personally I’ve found it tidier and easier to manage. We used old house rafters that we were replacing during our house renovation for the first couple of beds but it's really up to you and your budget.

Competition time........
We're big fans of River Cottage in our household (even the children like to watch it) and they certainly know their vegetables - whether it's cooking, eating or preserving them.
To be in with a chance of winning a copy of this colourful handbook, I'd love to know what questions were you (are you) afraid to ask when starting out? What did you (do you) struggle to get your head around in the veg garden? (Don't be shy now.)
Just leave a comment below or on the Facebook Page. Winners will be randomly chosen next weekend.
Thanks for taking the time and Good Luck!
My dad started planting with my help years ago. I have to say we fail every time with cauliflower. It always just sprouts upwards. I think we may have planted in too shady a place but not entirely sure...
ReplyDeleteThanks for your comment. Cauliflower is known to be a trickier veg and not recommended for beginners! From young plants throught to maturity, they need to undergo a steady period of growth with lots of water. Your odd shaped plants could be as a result of drought. Cauliflower prefers a cooler climate so if we experience a bit of a heatwave, that could be enough to upset it.
ReplyDeleteI had to be shown how to weed!!!! I thought you just pulled them out. A friend showed me how to loosen the roots first!
ReplyDeleteI'm fairly okay with root veg but my broccoli was a disaster, didn't know what to remove to make them flower and its the same with tomatoes, never quite sure what to prick out if you know what I mean!
ReplyDeleteLilymarlene that's a great one! I'd completely forgotten about that but I was the same.
ReplyDeleteLorna if you're having trouble with tomatoes always choose bush varieties as you don't need to do anything to them, just let them do their own thing. Also am guessing you mean Calabrese? You do nothing .... once you've cut the main growing head, smaller side shoots should appear from the main stem. Hope that helps?
Turf Manchester...Green comment. I like it.....
ReplyDeleteThanks Turf suppliers. I suspect you're spam but I like your comment :0)
ReplyDeleteI'm a huge River Cottage fan, you can't help but be inspired by Hugh F-W! We're still trying to get our heads around potatoes - how to chit them, when to plant them and how to keep the dreaded blight at bay. So much room for error with the humble spud, it seems!
ReplyDeleteHi Kristin. I know what you mean about potatoes... it can be confusing. I wrote a blog about them last year that should help to answer all those questions. Thanks for commenting. http://greensideupveg.blogspot.com/2010/02/potatoes-all-you-need-to-know-to-help.html
ReplyDelete